
Hilti PROFIS Engineering Suite is a user-friendly, cloud-based software that makes designing and analyzing structural connections faster and easier than ever.
Not just for anchors, Hilti PROFIS Engineering Suite (PE) designs, calculates and analyzes multiple fixings, including steel to concrete, concrete to concrete and steel to masonry as well as entire handrail and baseplate solutions that are more reliable, cost-effective and code-compliant. The software also comes with application-specific engineering training that enables you to unlock the full potential of PE.
IDEA StatiCa Checkbot is a powerful, desktop tool for management and 3D visualization of structural data from a variety of sources. Through importing, synchronizing and exporting project data, Checkbot provides you with:
- control over imported members and connections
- 3D visualization of imported structural and internal forces
- load combination management
- a clear list of imported items, including their code-check status
- management of structural elements through merging and grouping
- a conversion table for materials and cross-sections
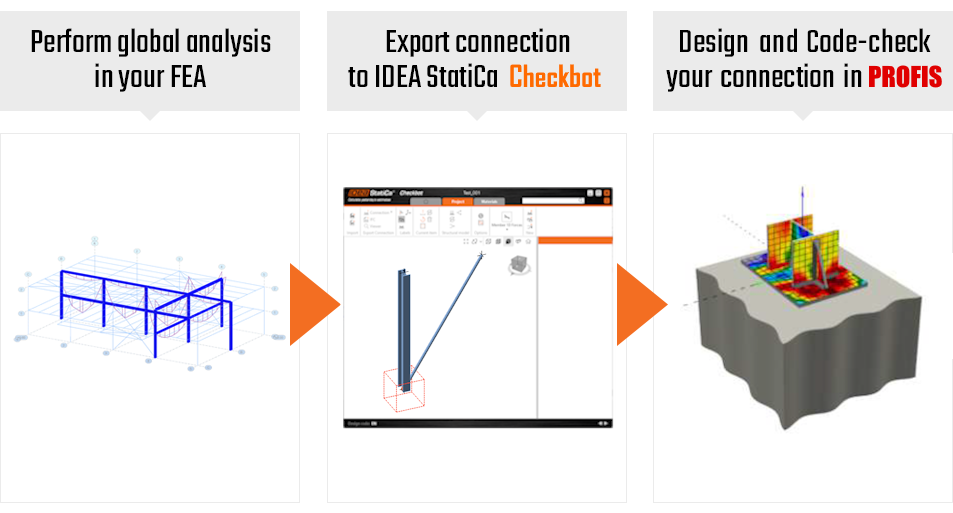
The PROFIS plugin for Checkbot brings unbeatable time and error saving tool in simplification of the current workflows. PE is able to analyze quickly tens of different anchoring arrangements for tens of different load combinations. The design code-check can be performed for both, rigid base plates and for real-stiffnesses with CBFEM analysis turned on. What can slow the designer the most, is the evaluation of which load combinations are the correct ones or the most critical ones to take into account. When identified, all the internal forces need to be input manually. But with Checkbot, user can leverage the data he already has from previous steps of the design process. From FEA or CAD tools, it is quite easy to import all the info needed for analysis in PE:
- anchored members' cross-section and geometry
- members' materials imported and synced
- load cases and combinations from the FEA model
- automatic selection of critical load combinations
- synchronization between the application of data-origin and PE
User journey quick guide
A detailed step-by-step description
How to start with Hilti PROFIS Engineering Suite?
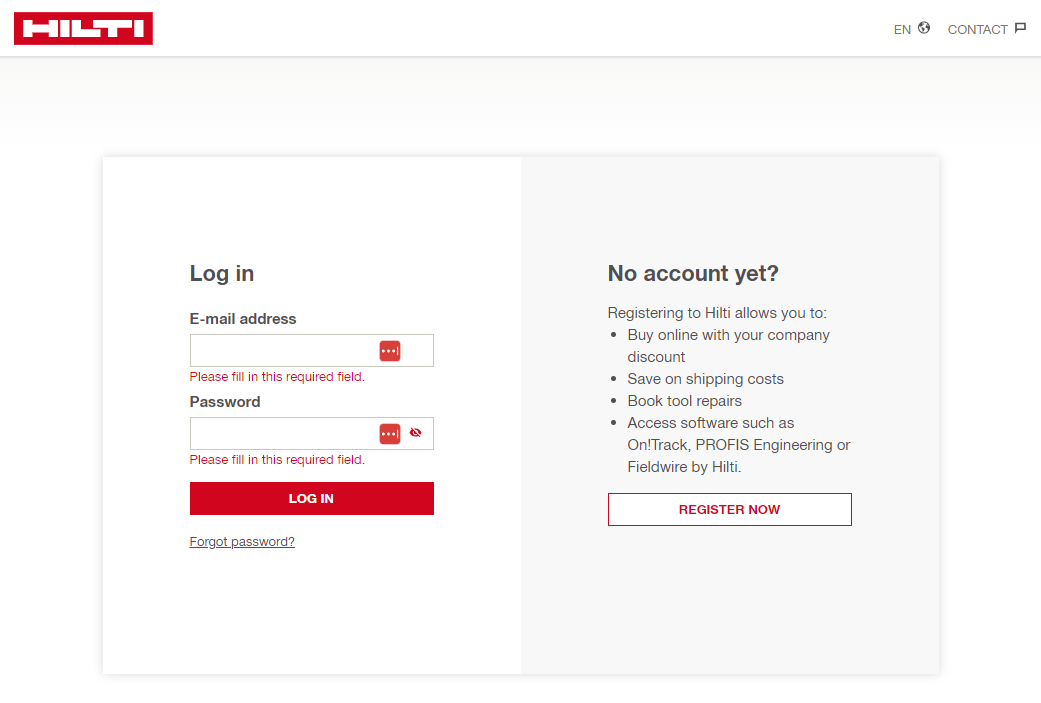
1) If you have your Hilti account, log in.
If not, please register on the Hilti webpage https://profisengineering.hilti.com/.
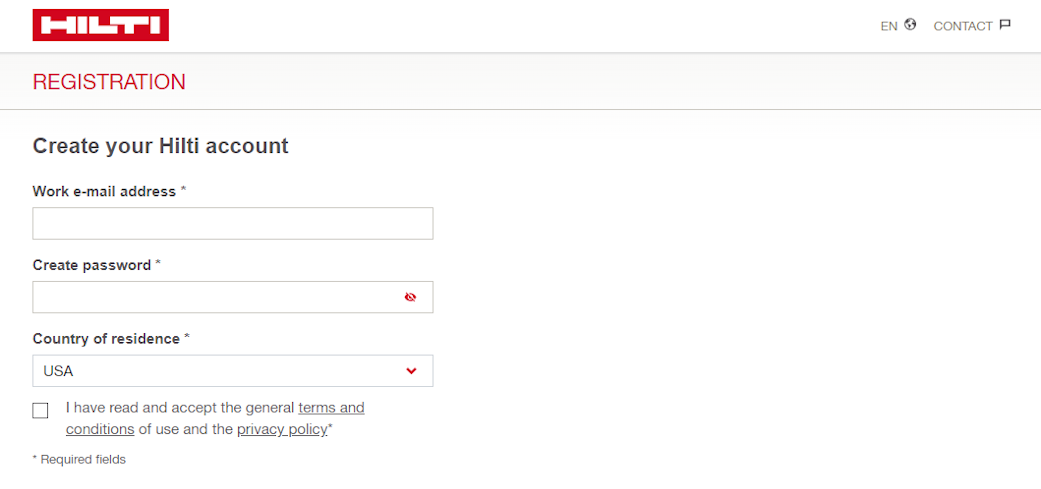
2) Enter your work email address, password and country of residence into the registration form.
3) Check your email inbox for a verification message. You'll be prompted for a code, which you find in the email.

4) The next step is to finalize the registration with additional personal data.
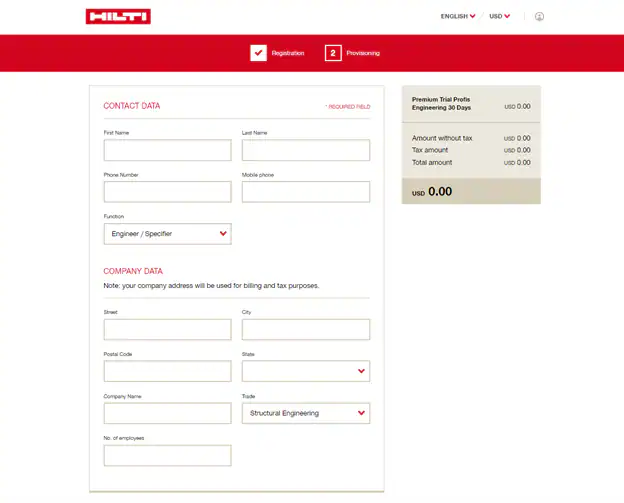
5) The Checkbot plugin for PE is only available for PREMIUM license models. Therefore, select one of the paid versions of Hilti PROFIS Engineering Suite. After finishing this, you're able to run PE with all the advantages of IDEA StatiCa Checkbot and data exchange between tens of FEA and CAD applications.
How to start with IDEA StatiCa Checkbot?
1) Download the latest version of the installation package from here.
2) Install the package onto your hard drive. The default directories are preferred as network drives can cause trouble with firewalls or antivirus software.
3) If you have any of the supported FEA or CAD software installed on your machine, you can install the IDEA StatiCa plugin during the installation.
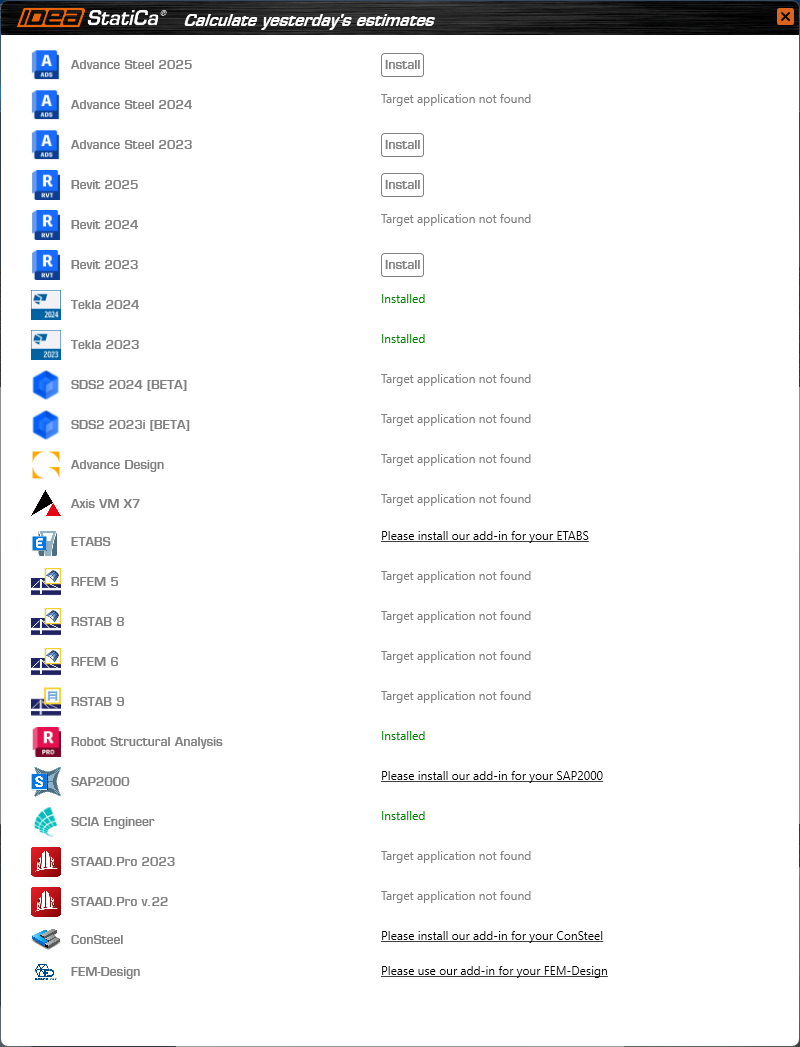
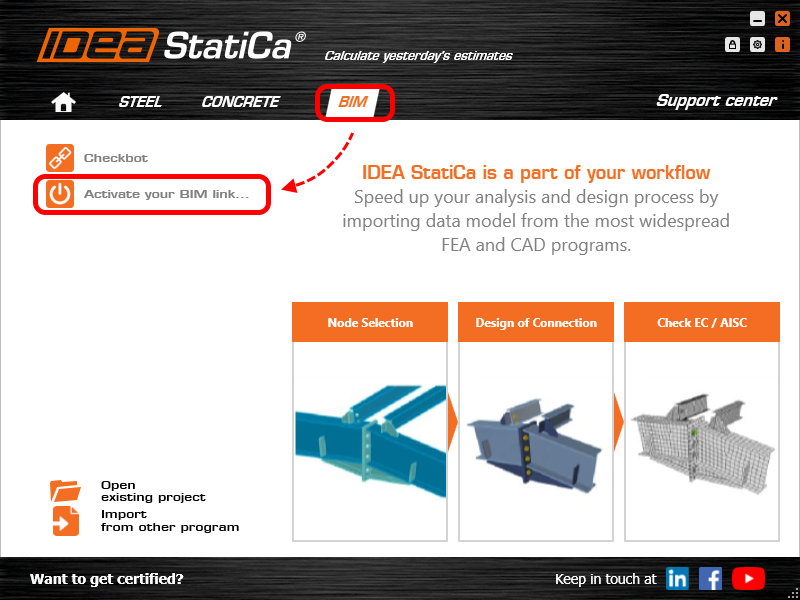
You can also access this list anytime in the future through the BIM section in IDEA StatiCa initial window.
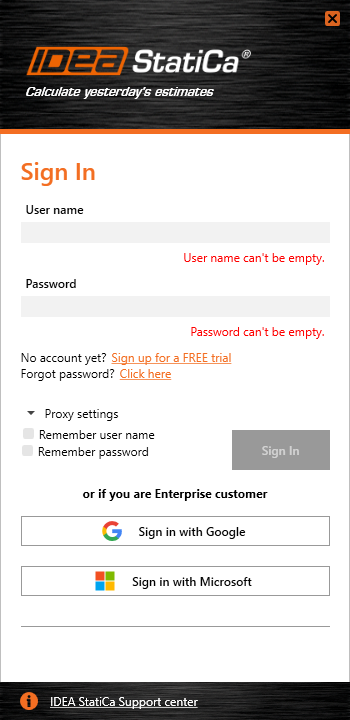
4) With the first launch of IDEA StatiCa's tools, you will be asked to sign in with your IDEA StatiCa account credentials.
There are four different possible IDEA License types available:
- Commercial
- Trial
- Educational
- Basic
For running IDEA Checkbot, any of these is suitable. If you don't have your IDEA license yet, the easiest way is to create an IDEA StatiCa Basic account.
For every license type, you can also select from several different IDEA StatiCa products, but this selection doesn't influence your ability to access the Checkbot app.
Examples of practical usage:
Other third-party app examples
- Tekla Structures
- Tekla Structural Designer
- Autodesk Advance Steel
- Autodesk Revit
- Autodesk Robot
- SAP2000/ETABS
- SCIA Engineer
- SDS2
- STAAD.Pro
- AxisVM
- RAM Structural System
- RISA-3D
- FEM-Design
- SPACE GASS
- Diamonds/BIM Expert
- STRAP
- MODEST
- NextFEM Designer
- Sismicad
- Strand7/Straus7
- RFEM/RSTAB
If you want to know more about a specific BIM link, simply look for your tool in this list of supported integrations.
SAF file import
IDEA StatiCa Checkbot is also able to import and process the widely used universal SAF (Structural Analysis Format) files. SAF is an Excel-based schema optimized for bi-directional collaboration between structural modelers and structural analysis applications that use the finite element method. It is a global, open-source file format, developed by Nemetschek Group for this purpose. A SAF file can be exported from SCIA Engineer, Dlubal software, FEM-Design, SOFiSTiK, Risa 3D, FRILO, Allplan, AxisVM, ConSteel, and many others.
- Checkbot example file 1 (for FEA tools)
- Checkbot example file 2 (for CAD tools)
- Example of a SAF file (for direct import)
Useful links:
System requirements for IDEA StatiCa
Setting up a commercial license
FAQ list for possible licensing issues
Known limitations:
- one anchored member can be exported only
- base plate dimensions and materials not synced (the default values will be used in PE)
- anchor bolt sizes and materials and distances not synced (the default value will be used in PE)
- the number of load combinations exported from Checkbot to PE is limited to 999
- the number of load combination possible to analyze in PE with the CBFEM method is 20
All of these limitations will be continuously solved in the coming patches of version 24.1.